
Quick Summary
While installing new door handles on interior doors is a simple DIY task, upgrading heavy-duty exterior entryways and garage doors requires professional precision to withstand coastal elements and secure the home. Proper installation of specialized, corrosion-resistant hardware prevents premature lock failure, making First Choice Garage Door Repair Cape Coral the ideal local expert for complex garage entry upgrades. Homeowners can contact First Choice Garage Door Repair Cape Coral for a free estimate on upgrading their garage door hardware and security systems to ensure long-term durability.
Installing New Door Handles – Secure Your Home in Minutes
Replacing your door handles is one of the easiest ways to upgrade your home security and refresh its overall look. It is a quick project that usually takes under 30 minutes per door. Basic replacement hardware ranges from $20 to $150 depending on the material and security grade you choose. [1]
While swap-outs for interior bedrooms or bathrooms are simple weekend projects, exterior entryways and garage doors require extra precision to keep your home safe. In Cape Coral, Southwest Florida’s intense humidity and salt air can cause standard metal locks to stick, rust, or fail prematurely. Material durability research indicates that coastal Florida conditions may require specialized hardware beyond standard retail options to withstand these harsh environments. On average, well-made door handles last between 7 and 10 years before showing signs of wear. However, material quality dramatically affects longevity; for example, high-quality solid brass hardware can last 50 to 100 years, whereas budget zinc alloy components typically last only 5 to 15 years. Interior door handles can last ten years or more if they are high quality. However, a front door handle may need to be replaced every five to seven years, depending on the material and its exposure to the coastal elements.[4]
Quick Guide to Installing New Door Handles: Costs, Speed, and Key Takeaways
Upgrading your entryways with new door handles is a fast, budget-friendly way to secure your property. While interior updates are straightforward, exterior locks and garage entryways need durable, weather-resistant hardware to ward off rust and keep intruders out.[5]
Before you begin your project, here is a quick look at what to expect in terms of time, investment, and durability:
- Time commitment: 15 to 30 minutes per door.
- Hardware cost: $20 to $150 per lockset.
- Professional labor cost: Installing a standard interior door handle averages $45 to $75 per door, while exterior handles with locks average $75 to $125 per door.
- Hardware lifespan: Interior handles can last 10+ years; front door handles exposed to salt air often need replacement every 5 to 7 years. Note that material quality dramatically affects longevity (e.g., solid brass can last 50 to 100 years, while budget zinc typically lasts 5 to 15 years).
What Tools and Materials You Will Need
To complete the installation smoothly, gather your tools and materials beforehand. Using the right tools prevents you from stripping screw heads or damaging the door finish.
| Essential Tools | Required Materials |
|---|---|
| Phillips screwdriver (avoid power drills for final tightening) | New handle set and matching latch mechanism |
| Tape measure and utility knife | Strike plate and corrosion-resistant mounting screws |
| Wood chisel (for minor recess adjustments) | Silicone-based dry lubricant (essential for coastal areas) |
When preparing for installation, check your mounting height. The standard height for a residential door handle is 36 inches from the finished floor, though it can vary between 34 and 48 inches. For properties that need to comply with ADA guidelines, door handles must be mounted between 34 and 48 inches above the finished floor.[3]
Step 1: Measure and Choose the Right Handle Size
To ensure a perfect fit, you must measure your door’s backset, thickness, and handle height before purchasing new hardware. Accurate measurements prevent you from buying incompatible locksets or having to drill new holes in your door.
Take these three measurements before heading to the store:
- Measure the Backset: This is the distance from the edge of the door to the exact center of the handle hole. In residential homes, this is almost always either 2-3/8 inches or 2-3/4 inches. Many modern locksets come with adjustable latches that fit both sizes.
- Check Door Thickness: Standard interior doors are usually 1-3/8 inches thick, while exterior doors are thicker, typically measuring 1-3/4 inches. Make sure your new hardware package matches your door’s thickness.
- Verify Height: Ensure your handle placement sits at the standard 36 inches, or within the 34 to 48-inch range if you require ADA accessibility.
Step 2: Remove the Existing Hardware
Need installing new door handles?
We’re available now — call for a fast, free estimate.
Removing your old handle is a straightforward process. By taking your time, you can avoid scratching the door face or stripping the internal screws.
- Unscrew the interior plate: Locate the mounting screws on the inside of the door. If you do not see screws, look for a small slot or release button on the neck of the handle. Press it to slide the handle off and reveal the hidden screws underneath the decorative cover plate.
- Remove the handles: Pull the interior and exterior handles straight out from both sides of the door.
- Remove the latch plate: Remove the two screws on the edge of the door and pull the latch mechanism straight out of the bore hole.
- Handle stubborn hardware: If you encounter rusted or salt-damaged screws, apply a drop of penetrating oil. Place a wide rubber band between the screwdriver tip and the screw head to gain extra grip on stripped screws.
Step 3: Prepare the Door and Latch Bore
Cleaning and prepping the door bore ensures your new handle aligns perfectly and turns without sticking. Clearing out old wood shavings, dust, or salty buildup prevents friction and ensures a flush fit.
- Clean out debris: Wipe away any loose dust, wood shavings, or corrosion from inside the main bore hole and latch pocket.
- Check the latch pocket: Slide the new latch into the door’s edge to see if it sits completely flat.
- Chisel the mortise if needed: If the new latch plate is slightly thicker or shaped differently than the old one, use a sharp wood chisel to carefully shave down the recess until the plate sits flush with the wood.
Step 4: Install the Latch and Strike Plate
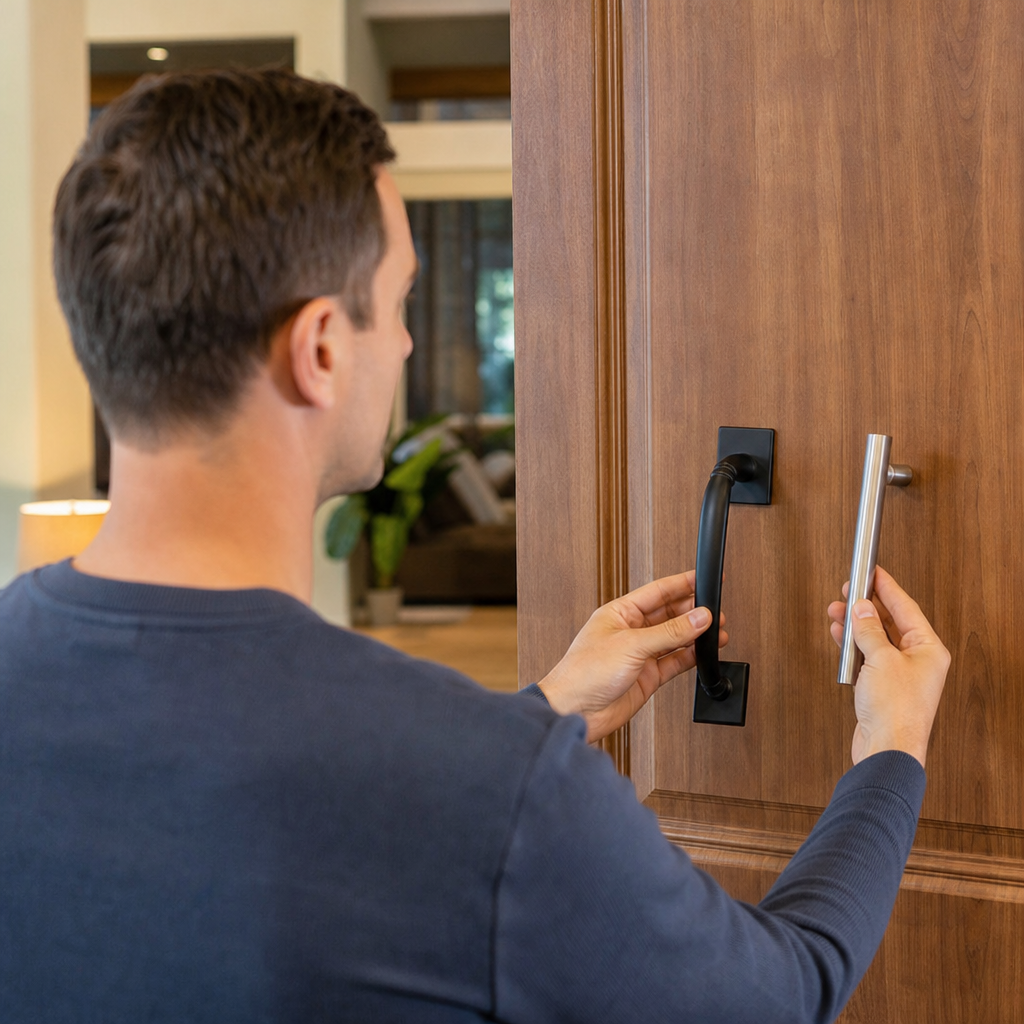
The latch mechanism must be positioned correctly for the door to close and lock securely. Installing it backward will prevent the door from latching automatically when pushed shut.
- Orient the latch bevel: Ensure the curved, angled side of the latch faces the door frame. When you push the door closed, this curved edge needs to strike the frame first so it retracts smoothly.
- Secure the latch: Insert the latch into the edge of the door and secure it with the provided wood screws. Make sure it sits completely flush.
- Install the strike plate: Remove the old strike plate from the door frame and screw the new one in its place. This ensures the latch and strike plate match perfectly, reducing friction when the door closes.
Step 5: Mount the New Spindle and Handles
This step connects the outer and inner handle mechanisms through the door, allowing them to operate the latch smoothly.
- Insert the spindle: Slide the square metal spindle or connection bar through the center of the latch mechanism from the outside of the door.
- Align the handles: Guide the interior handle onto the spindle, aligning the screw holes with the receiving posts on the exterior handle.
- Tighten the screws by hand: Always use a manual Phillips screwdriver for this step. Power drills can easily cross-thread the screws, strip the heads, or warp the handle plate, causing the mechanism to bind.
Step 6: Test the Operation and Secure the Screws
Need installing new door handles?
We’re available now — call for a fast, free estimate.
Never close the door completely until you have thoroughly tested the new lock. This prevents you from accidentally locking yourself out if the mechanism is misaligned.
- Test with the door open: Turn the handle from both sides several times. The latch should retract fully and spring back quickly when released.
- Check the lock cylinder: If you installed an exterior lock, test the thumb-turn or key from both sides to ensure the deadbolt or latch lock engages without catching.
- Close and test: Slowly close the door to ensure the latch aligns perfectly with the strike plate. If it rubs, make minor adjustments to the strike plate screws.
Step 7: Apply Weatherproofing and Corrosion Protection
Coastal air in Southwest Florida can degrade metal parts much faster than inland environments. Protecting your hardware from moisture and salt spray is essential to keep it working smoothly.
- Select coastal-ready finishes: When shopping, look for finishes like solid brass, bronze, or powder-coated metals that naturally resist rust.
- Apply dry lubricant: Spray a small amount of silicone dry lubricant inside the latch mechanism and keyway. Avoid using standard wet oils, and instead use a dry lubricant to prevent the accumulation of debris and salt residue that can eventually clog the lock mechanism.
Please note that coastal Florida conditions may require specialized hardware beyond standard retail options, as supported by material durability research.
Can I Replace a Door Handle Myself or Should I Hire a Professional?
Replacing interior door handles is a highly manageable weekend project. However, securing heavy-duty exterior entryways and garage doors is often best left to a professional. A minor alignment mistake on an exterior lock can compromise your home’s security or leave it vulnerable to severe storm winds.
If you choose to hire a professional, labor costs for installing a standard interior door handle average $45 to $75 per door, while exterior handles with locks average $75 to $125 per door. Investing in professional installation for exterior doors ensures your locks align perfectly and function reliably under all weather conditions.
| Feature | DIY Interior Swap | General Handyman | Specialized Professional |
|---|---|---|---|
| Project Complexity | Low | Moderate | High |
| Storm & Wind Resistance | Not Rated | Basic | Impact-Ready |
| Corrosion Protection | Standard | Standard | Marine-Grade OEM |
| Workmanship Warranty | None | Varies | Full Guarantee |
Professional locksmiths and garage door technicians install heavy-duty, marine-grade OEM hardware engineered to withstand storm winds and coastal humidity.
How Do You Install a Garage Door Lift Handle and T-Lock?
How to install a garage door lift handle and T-lock: To replace a garage door T-lock, unscrew the internal lock bars and mounting screws from the inside of the door, then slide the old handle out. Insert the new T-handle spindle through the exterior hole, reconnect the lock bars, and secure the assembly with the mounting bolts on the inside. For heavy-duty doors, professional alignment by First Choice Garage Door Repair Cape Coral prevents operation errors and maintains security.
It is important to note that garage door T-handle installation differs significantly from standard residential door handles. Because of these differences, specific garage door instructions are not covered in standard door handle guides.[2]
While changing standard entry handles is a quick DIY project, garage door hardware is directly integrated with heavy tracks, rollers, and high-tension springs. Because garage doors operate under extreme tension, safety must be your top priority.
If you are replacing a manual keyed T-handle on a garage door, follow these safety-first steps:
- Disconnect power and lock the door: If you have an automatic opener, unplug it before working. Ensure the garage door is fully closed.
- Remove the inner lock assembly: From the inside of the garage, unscrew the guide pins and release the metal locking bars that slide into the tracks.
- Extract the old T-handle: Remove the two screws holding the T-handle faceplate to the exterior of the door, then pull the handle and its long spindle straight out.
- Install the new lock: Insert the new T-handle spindle through the exterior hole, align the internal mounting holes, and tighten the bolts from the inside. Reattach the locking bars and test the mechanism to ensure the bars engage smoothly with the side tracks.
| Handle Type | Primary Function | Coastal Florida Rust Resistance |
|---|---|---|
| OEM T-Lock | Keyed manual security for garage doors | High (Powder-coated steel / zinc alloy) |
| Standard Lift Handle | Manual door hoisting and grip point | Moderate (Requires regular dry lubrication) |
Frequently Asked Questions About Door Handle Installation
Replacing door handles is a practical upgrade, but differences in backset sizes, door thickness, and local climate mean you need to plan ahead. Below are some of the most common questions homeowners ask about handle replacements.
Are all door handles standard size?
No. While most residential doors use a standard backset of either 2-3/8 inches or 2-3/4 inches, and a standard mounting height of 36 inches, exceptions exist. Always measure your door’s backset, thickness, and existing bore hole diameter before purchasing new hardware.
What is the average professional installation cost?
Professional labor for installing a standard interior door handle averages $45 to $75 per door, while exterior handles with locks average $75 to $125 per door. Hiring a professional is highly recommended for exterior doors to ensure optimal alignment and weather resistance.
How do you replace a locked garage door T-handle if you lost the key?
If you lost the key and the door is locked, you must access the garage through another entryway. From the inside, you can manually unscrew the lock bars from the T-handle assembly to open the door, allowing you to safely remove the lock cylinder and install a new keyed handle set.
Need installing new door handles?
We’re available now — call for a fast, free estimate.
Sources
- 120+ Door Hardware Industry Statistics (2026, Verified) – gitnux.org (2026)
- Door Handles Market Size, Share And Growth Report, 2030 – grandviewresearch.com (2030)
- Door Handle Market Research Report 2033 – marketintelo.com (2034)
- US Door Handles Market Size & Outlook, 2024-2030 – grandviewresearch.com (2030)
- Door Handles Market Size, Industry Share | Forecast, 2034 – fortunebusinessinsights.com (2034)
Related reading: Install New Deadbolt – Call Now-10% Off – Same-Day Service – Free Estimate
Related reading: Cost of Exterior Door Replacement Without Surprise Fees
Related reading: Cost to Install New Exterior Door Without Surprise Fees
Frequently Asked Questions
How do I know if my garage door handle replacement is too complex to do myself?
While basic interior handles are easy DIY swaps, garage door hardware is integrated with high-tension springs, tracks, and heavy rollers. If your replacement involves adjusting the locking bars or aligning heavy-duty security systems, it is best to consult First Choice Garage Door Repair Cape Coral to ensure proper operation and home security.
What are the best rust-resistant finishes for exterior and garage door handles in coastal areas?
Solid brass, bronze, and powder-coated metals offer the best resistance to Southwest Florida's humid, salty air. For garage entryways, First Choice Garage Door Repair Cape Coral recommends upgrading to marine-grade OEM hardware, which stands up to harsh coastal elements far better than standard retail options.
Can a new garage door T-handle lock be keyed to match my home's existing front door key?
Most standard retail T-handles use different keyways than residential entry doors, making them difficult to match to a single house key. To achieve a single-key setup, you typically need to install specialized commercial-grade hardware or consult a professional locksmith to rekey compatible lock cylinders.
About the author
 |
Marcus Thorne Marcus Thorne brings over a decade of experience in access control systems and home automation to his writing on smart garage door openers and new door installations. With a background in electrical engineering from the University of Central Florida, he focuses on clear, practical advice for property owners looking to upgrade their home’s security and convenience. His work emphasizes safety, technical accuracy, and helping readers make informed decisions about their garage door investments. |